
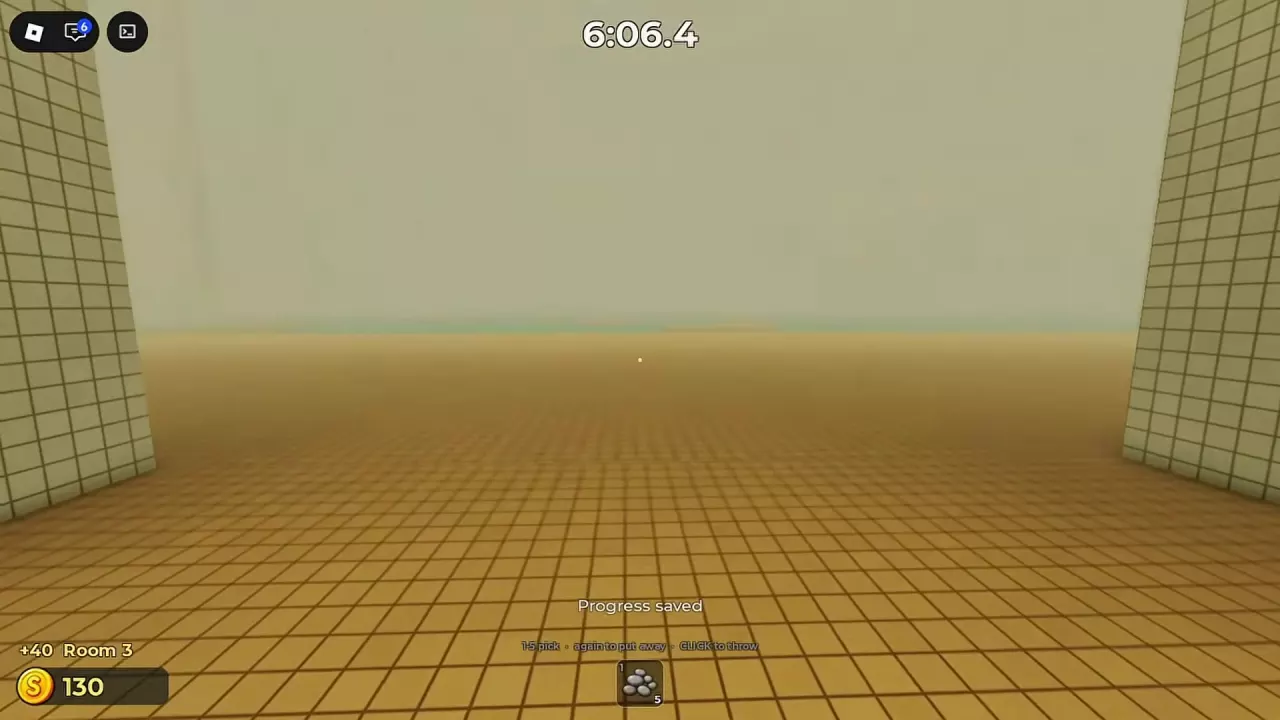
This walkthrough follows a standard Poolrooms escape: yellow platforms and wall arrows through pool sections, a rotating platform crossing, two Maintenance Lock valves, then yellow block stairs when the rising-water warning appears. Banner names may differ in your lobby, but the hazard rhythm stays similar across reported routes.
The hunter tracks sound—not sight on dry tiles. Collect pebbles from gray clusters when you can, throw splashes away from your forward line, and watch the entity after every throw before you jump.
Checkpoints such as Progress saved messages mark long routes; treat them as breathing room to refill pebbles, not as a signal to idle on sinking tiles.
Before You Start
Create a party in the lobby, pick Poolrooms (or the seasonal map your group uses), and choose Easy while learning spacing. Easy uses shorter layouts; reported coin payouts are lower than Normal or Hard.
Stock pebbles before you enter a banner you do not know. Equipment purchases exist, but route pickups are enough for learning runs if you grab gray clusters early.
In multiplayer, agree who opens valves and who baits—simultaneous valve interaction is not required on Easy Poolrooms, but two players talking over each other often causes double splashes.
Phase 1 — Follow Yellow Platforms and Arrows
Jump between full yellow footholds and follow black arrows on walls and in dry corridors into the next pool area. Short hops beat long arcs that clip water.
Read the room banner before you move. It names the active rule set—generic platforming, sinking tiles, or another specialty section coming later in the route.
- Plan two tiles ahead so you are not adjusting on the edge.
- Pick up pebbles before long gaps, not during them.
- If the hunter is already drifting toward your side, bait or wait—do not race a sprint jump.
Phase 2 — Sinking Platforms Sections
When the banner reads SINKING PLATFORMS (or equivalent), ordinary yellow tiles drop after you land. Jump promptly onward; dark-bordered platforms act as safe stopping points for that room's rule.
Hesitation is the main failure mode. Decide the next landing before you touch the first sinking tile, then commit without micro-adjustments that clip the water line.
Phase 3 — Rotating Platform Crossing
Wait for the rotating platform to align with your forward route. Board at the near end when the walk surface lines up, move along the platform, and jump from the far end to the next rectangular tile—not from the middle of the spin cycle.
Watch one full rotation from dry land before you board. Starting early often means riding the platform while it faces open water.
Phase 4 — Memory and Specialty Banners
Some routes insert memory-style or narrow-bridge banners between the rotating section and Maintenance Lock. When a banner repeats in your failures, pause this walkthrough and open the dedicated guide for that hazard family.
Hard difficulty compresses these windows. Drop to Easy once to learn the pattern, then return with the same bait-and-cross rhythm.
Phase 5 — Maintenance Lock (Two Valves)
Look for gray-green cabinets with red valve wheels. At each Maintenance control prompt, stay within reach and hold interact (E on PC) until the progress ring fills and the indicator turns green.
Valve opened (1/2) means one valve remains—not that the objective is finished. On Easy Poolrooms you can open both sides solo in sequence, or split them with a teammate; you do not need simultaneous interaction.
Valves are loud. Locate the hunter before you touch the first wheel—either bait it to the far end or coordinate so one player distracts while another opens.
Opening the first valve does not skip the second. After both valves, listen for the door-open message and the rising-water warning before you hunt for stairs.
Phase 6 — Rising Water and Exit Stairs
After the second valve, treat the rising water as a hard timer. Look toward the high glowing doorway and locate yellow block stairs between columns.
Jump up the increasingly tall blocks, reach the wide exit platform, and walk through the doorway along the corridor. Avoid extra splashes that pull the hunter back onto your line while you climb.
Common Walkthrough Mistakes
- Skipping pebble pickups, then being forced into perfect silent lines every room.
- Throwing bait toward your next landing instead of away from it.
- Opening valves while the hunter is already charging your tile.
- Boarding the rotating platform before watching a full cycle.
- Standing on sinking tiles to aim throws or read chat.
- Memorizing a video path without reading the live banner text after an update.
What to Do If You Get Stuck
Sort the failure: movement (hard stages + specific obstacle guide), timing (bridge or sinking page), or sound (water/sound + monster guide).
Run one Easy room to validate phase order after a Roblox update, then resume your usual difficulty.
If deaths feel random, start with Why Do I Keep Dying? before grinding the same jump.
Frequently Asked Questions
Does this walkthrough list every banner name?
No. We describe confirmed hazard phases—platform routing, sinking tiles, rotating platform, valves, rising exit—so you can adapt when marketing names rotate.
How long should I wait after throwing a pebble?
Wait until the hunter commits to the splash and clears your lane. Jumping while it is still turning toward you is a common fail.
Does Valve opened (1/2) mean I am done?
No. It means one of two Maintenance valves is open. Find and open the second cabinet before the rising-water segment.
Should I read the escape guide and this page together?
Yes. The escape guide explains run goals and threat pacing; this walkthrough gives ordered phase detail. Pair both on your first successful attempt.