
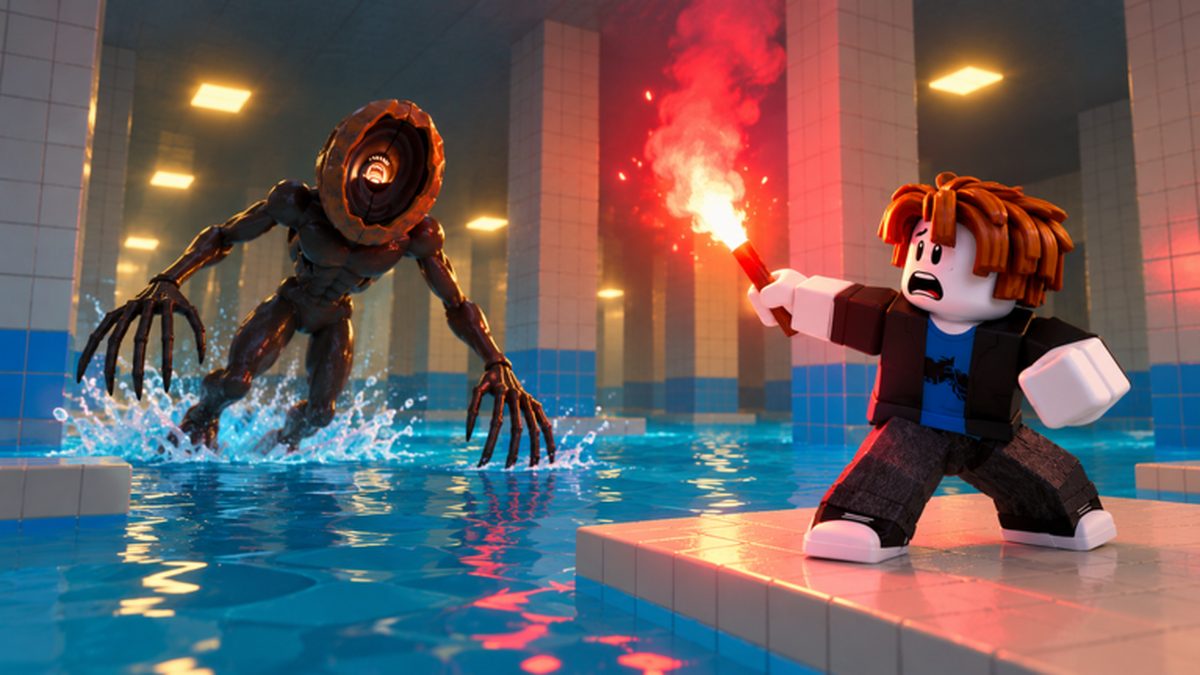
Hard rooms in DONT SPLASH punish combined mistakes: a slightly late jump, a clipped splash, and a loud interaction in the same attempt. This page breaks those failures into obstacle types so you can fix one skill at a time instead of repeating full runs.
Lobby difficulty matters. Easy layouts give wider platforms and more time to bait the hunter between jumps; Normal and Hard compress spacing and leave fewer dry tiles near the water line. When one banner causes most deaths, pause the complete walkthrough at that phase and drill it on Easy before you return to Hard.
Many “hard stage” problems are really one banner—sinking chains, a rotating platform, memory tiles, or Maintenance Lock valves—repeated until you stabilize that pattern. Match the room title to the right fix using the map mechanics wiki when the banner name is the blocker.
What Makes a Stage Difficult?
Difficulty usually stacks three pressures: smaller landing zones, moving geometry, and less time to bait the entity between jumps. When two pressures overlap—sinking tiles near a rotating platform, or valves right after a narrow bridge—failures feel random even when the root cause is timing.
Hard difficulty also reduces forgiving tiles near water, which turns minor splash clips into full resets. Sound pressure rises when you have fewer calm seconds to throw pebbles before the next jump—the water-and-sound wiki covers splash spikes if deaths feel like noise rather than spacing.
Read the room banner before you move. It names the active rule set; grinding the same failed jump without matching the banner to a hazard family usually means you opened the wrong guide.
How to Handle Difficult Obstacles
Treat each hazard family separately. Pause the walkthrough when one banner causes most deaths, open the matching obstacle guide from the Related panel or Stages nav, and return only after one clean crossing on Easy.
- Sinking platforms — chain planning and dark-bordered stops.
- Rotating bridge — full rotation watch, near-end boarding, far-end jump.
- Memory bridge — confirm the clue type before you memorize a sequence.
- Monster bait — pebble timing before Maintenance Lock valves.
Difficult Jumps and Narrow Landings
Approach narrow tiles with a short hop instead of a sprint jump. Overshooting onto the next tile is usually safer than clipping the water on the way down.
Center your camera before you jump so you can see both the takeoff edge and the landing. On Hard, avoid diagonal sprints that skim the pool surface.
If you fail twice on the same gap, change takeoff angle or wait for a bait window—identical retries often mean the hunter is still on your side of the room.
Moving or Sinking Platforms
In SINKING PLATFORMS sections, ordinary yellow tiles drop after you land. Jump promptly onward; dark-bordered platforms are safe stopping points for that room's rule.
Hesitation shrinks the tile under you. Decide the next landing before you step on the first sinking tile, then commit without micro-adjustments.
Watch one full cycle when platforms reset—some rooms pause briefly at the top before dropping again.
Timing-Based Crossings
Rotating platforms need a full rotation observed from dry land. Board at the near end when the walk surface aligns, move along the platform, and jump from the far end—not from mid-spin.
Memory-style routes punish guessing. Note the cue the room gives (tile order, light pattern, or path reveal) and match the dedicated guide instead of muscle-memory from an old video.
If rhythm feels random, compare two failed runs—some layouts speed up after the first successful crossing.
Maintenance Lock and Loud Sections
Valve cabinets are loud like player splashes. Locate the hunter before you hold interact on the first wheel; bait to the far end or coordinate in multiplayer so one player distracts.
Valve opened (1/2) means one valve remains. Finish the second cabinet before you treat rising water as the only timer—you still need a clean exit line after both valves.
Common Mistakes That Cause Failed Attempts
Most hard-stage wipes are sound or timing errors, not “bad luck.” Sort your last death into one of the buckets below before you retry.
- Throwing a pebble too close to your landing tile or baiting while the hunter already faces you.
- Jumping while the entity is still on your side of the room.
- Opening Maintenance valves before you know hunter position.
- Standing on sinking tiles to aim throws or read chat.
- Boarding a rotating platform before watching a full cycle.
- Repeating the same failed jump without changing angle, bait timing, or difficulty.
How to Practice a Difficult Section
Use Easy difficulty to repeat one hazard type until bait-and-cross feels automatic. Easy reported coin rewards are lower, but spacing is wider—ideal for learning valve order or bridge timing.
Practice silent movement on dry tiles between attempts so you do not train yourself to splash during calm sections.
When one banner is solved, run Normal once with the same rhythm before jumping to Hard. Hard teaches pressure stacking, not basic foot placement.
If failures spread across many banners, start with Why Do I Keep Dying? to sort splash, awareness, and movement issues before grinding individual jumps.
Pebbles are route fuel. Enter a hard banner empty-handed only if you accept perfect silent lines with no bait margin.
Frequently Asked Questions
Should I grind Hard rooms for practice?
Only after Easy routes feel stable. Hard rooms teach pressure, not basic spacing. Learn each banner on Easy first, then step up.
One banner kills me every time—what now?
Stop full runs. Open the guide for that hazard (sinking, rotating bridge, memory, or monster bait for valves) and repeat only that section on Easy until one clean pass.
Do Hard stages use different monsters or rules?
The hunter still tracks sound on reported routes. Hard mainly tightens geometry and timing windows rather than changing core detection rules.
Should I bring more pebbles into Hard runs?
Pick up gray clusters whenever you see them. Hard leaves fewer calm seconds—starting a difficult banner without pebbles removes your safest bait option.