
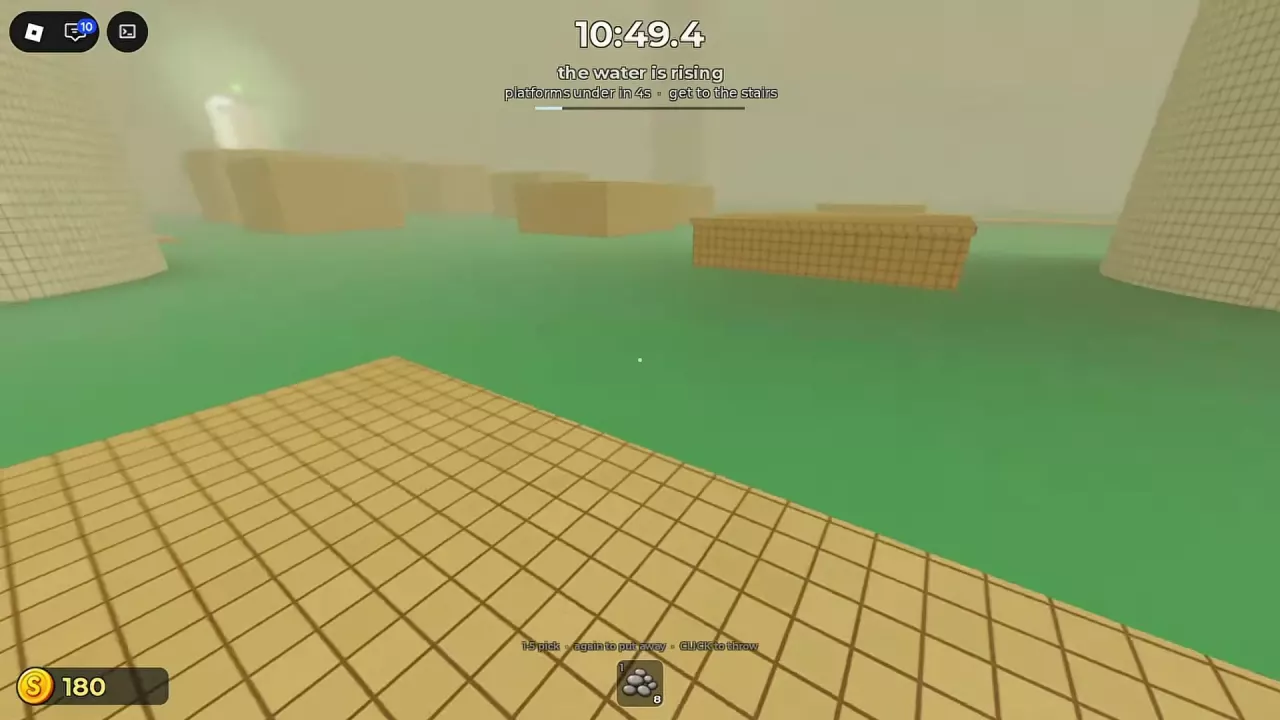
Escaping is the run-level goal: chain quiet crossings, survive special hazards, open both valves, and reach the glowing exit before rising water or the hunter ends the attempt.
This guide organizes decisions around escape—not the exact tile order covered in the walkthrough.
Think of a successful escape as four commitments: arrive at the valve segment with resources, open valves without stacking noise, sprint the rising-water stairs on time, and never treat the exit glow as permission to splash on the last hop.
Understand the Escape Objective
Think in phases: resource pickup, hazard crossing, loud puzzle, sprint exit. Missing a phase strands you even if individual jumps look fine.
Cash and upgrades matter between runs, but during a single attempt your only win condition is reaching the exit alive. Do not backtrack for optional pickups once water rise begins unless you know the room allows it.
Prepare Before Moving Forward
- Enter with pebbles if the room allows prior pickup.
- Note hunter position after each landing.
- Pick difficulty that matches your bait skill.
- Read the banner at room entry so you know if sinking, rotation, or memory rules apply.
Navigate Dangerous Areas
For mixed hazards, solve sound first. A perfect jump onto a tile while the hunter rushes you still fails.
Use obstacle guides when one mechanic dominates a banner. Stack fixes: bait for the hunter, then execute the platform cycle—not the reverse.
When a room combines water volume and narrow tiles, take the path with fewer mid-air adjustments even if it looks longer on camera.
Valves, Rising Water, and the Final Sprint
Valve segments are loud by design. Plan who baits and who moves if you are in multiplayer; solo players should throw before touching the first valve when the hunter is near.
After both valves, treat rising water as a timer on the stair route to the glow. Hesitation on the first post-valve jump often costs more time than one careful re-aim on dry tile.
Exact valve order and stair geometry are walkthrough-specific. Use this section for mindset; use the walkthrough for tile order on your current map.
React to Threats and Obstacles
When the hunter commits to a distant splash, cross immediately on your planned line—delay wastes the bait.
If it approaches without a recent splash, you likely clipped water or triggered a loud object.
When rising water audio spikes, prioritize forward motion on confirmed dry tiles over another pebble throw unless the hunter is blocking the only line.
What to Do When Your Route Fails
Reset your plan: identify splash source, re-bait, and change jump angle instead of repeating the same arc.
If you die repeatedly at the same banner, drop difficulty for one run to watch the full cycle without pressure, then return to your main difficulty.
Frequently Asked Questions
Does escape strategy replace the walkthrough?
No. Pair this page with the sequential walkthrough when you need exact phase order.
Can I escape without opening both valves?
Not on the standard documented route. Unverified skip claims should be tested on Easy after patches—not copied from clips.
Does rising water always start after the second valve?
That is the common pacing on documented Poolrooms progressions. Confirm on your banner; updates can retune timing.
Should I sprint every section after valves?
Sprint the segments where water chases you; still land on dry tiles. Sprinting into a pool edge creates the same splash failure as earlier rooms.